How to Batch Edit Multiple Photos in Hypic (2026 Guide)
Quick Answer
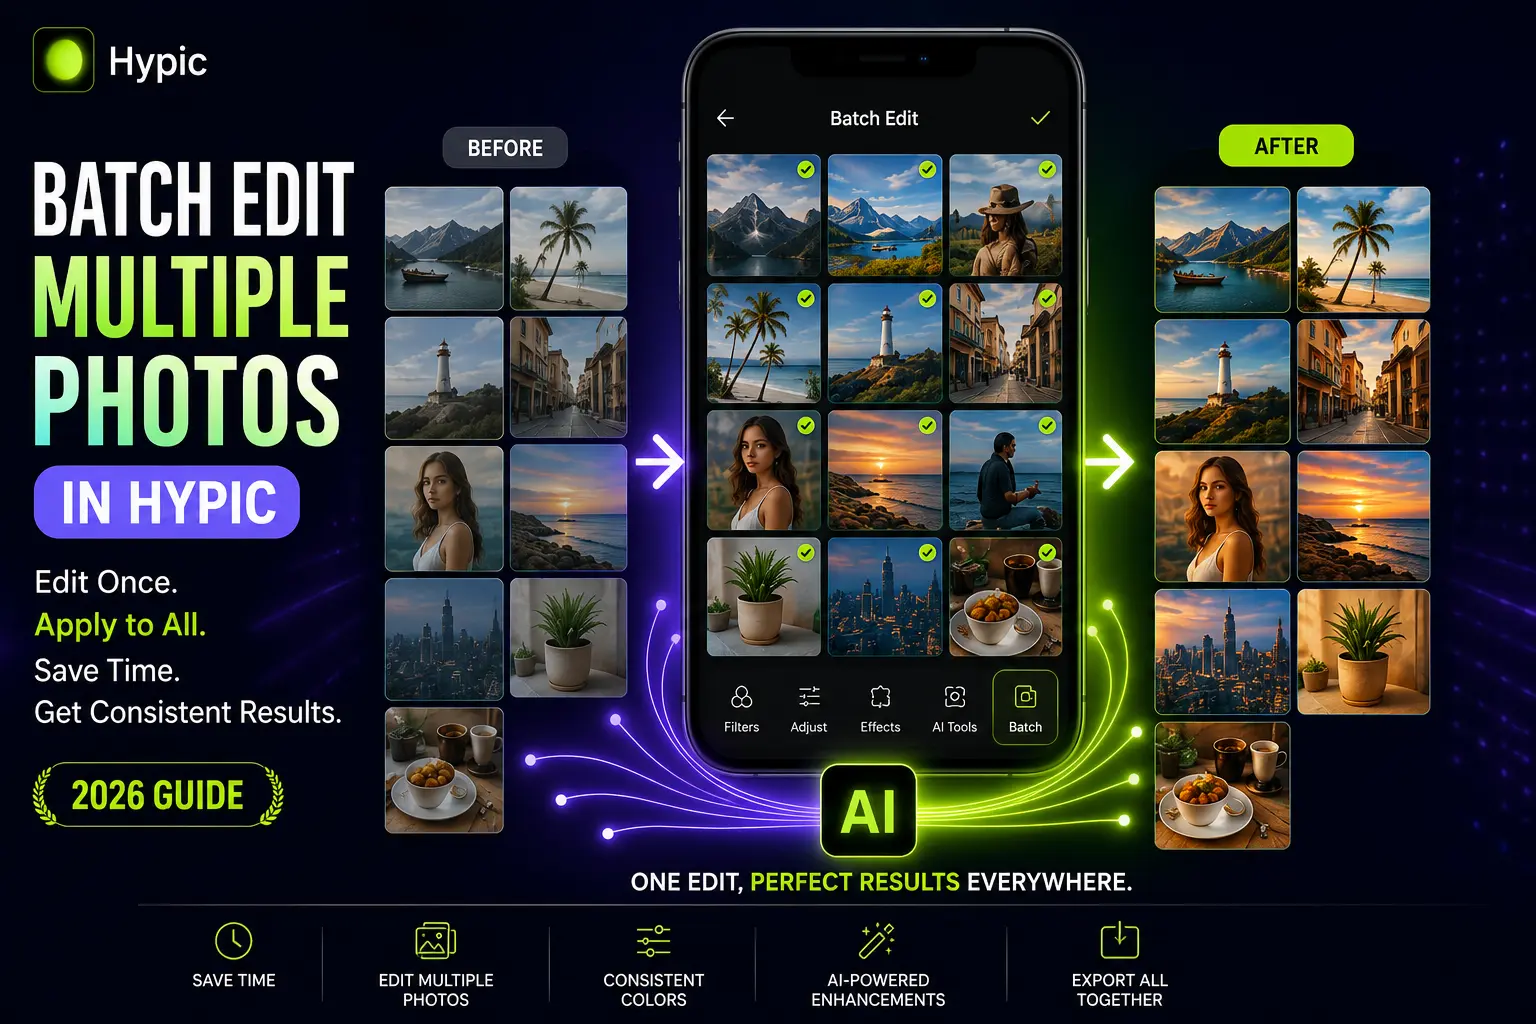
If you want to batch edit photos in Hypic, use the Batch Edit feature to apply the same filters, adjustments, and AI enhancements across multiple images simultaneously. Instead of editing every photo individually, you can select several images, apply one consistent editing style, and export them together. This feature is especially useful for Instagram carousels, travel albums, product photography, and content creators who want a consistent visual style.
How to Batch Edit Multiple Photos in Hypic
Editing one photo at a time can quickly become frustrating, especially if you’re working with dozens of images from the same event or photoshoot. Whether you’re preparing an Instagram carousel, editing travel memories, or organizing product photos for an online store, repeating the same adjustments over and over wastes valuable time.
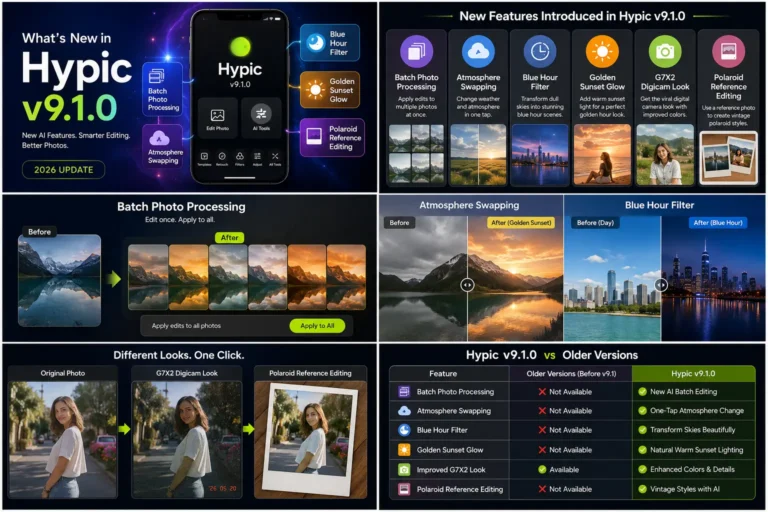
That’s exactly why Hypic introduced Batch Photo Processing.
Instead of manually editing each image, Batch Edit lets you apply one editing style across multiple photos in a single workflow. The result is a faster editing process while maintaining a consistent look across your entire photo collection. Recent versions of Hypic highlight batch editing as one of the app’s core productivity features.
If you’ve already read our guide on What’s New in Hypic v9.1.0, you’ll know that Batch Processing is one of the biggest additions in the latest update. In this guide, we’ll show you how to use it effectively and share practical tips for getting the best results.
What Is Batch Photo Processing in Hypic?
Batch Photo Processing is a workflow that allows you to edit multiple images using the same adjustments.
Instead of opening every photo separately, you select a group of images and apply identical edits—such as filters, brightness, contrast, color corrections, or other supported enhancements—to all of them at once.
This helps maintain a consistent visual style while significantly reducing editing time.
For creators who regularly upload content to Instagram, TikTok, Pinterest, or other social platforms, Batch Editing is one of the easiest ways to keep an entire gallery looking professional.
If you’re new to Hypic, you can also explore our AI photo editing tools and beginner-friendly guides to get the most out of the app.
Why Use Batch Editing?
Batch editing isn’t just about speed—it also improves consistency.
Imagine you’ve taken twenty sunset photos during a vacation. If you edit each image separately, there’s a good chance every photo will end up with slightly different colors or lighting.
With Batch Editing, every image follows the same editing style, creating a cleaner and more polished collection.
Some of the biggest benefits include:
- Save time when editing multiple photos.
- Keep colors and tones consistent.
- Create a professional-looking Instagram feed.
- Edit travel albums more efficiently.
- Maintain a unified style for product photography.
- Reduce repetitive editing work.
Whether you’re a beginner or an experienced creator, Batch Editing makes your workflow much more efficient.
How to Batch Edit Photos in Hypic
Follow these general steps to edit multiple images using Hypic’s Batch Edit feature:
Step 1: Update Hypic
Before you begin, make sure you’re using the latest version of Hypic, as Batch Editing is available in newer releases. Using the latest version also ensures access to recent AI improvements and performance updates.
If your device can’t run the latest update, you can still download older versions of Hypic, although some of the newest AI features may not be available.
Step 2: Open the Batch Editing Feature
Launch Hypic and look for the Batch Edit option on the home screen or editing workspace, depending on your app version.
Step 3: Select Your Photos
Choose the images you want to edit together.
For the best results, select photos taken in similar lighting conditions. This helps ensure that the same adjustments look natural across every image.
Step 4: Apply Your Edits
Now apply your preferred edits.
You can typically use:
- Filters
- Brightness
- Contrast
- Saturation
- Temperature
- Exposure
- Selected AI enhancements (depending on availability)
Every supported adjustment will be applied consistently across the selected photos.
Step 5: Preview the Results
Before exporting, review each image individually.
Although Batch Editing saves time, some photos may still need small adjustments if the lighting or composition differs from the rest of the group.
Taking a minute to review your edits can help you avoid inconsistent results.
Step 6: Export Your Photos
Once you’re satisfied, export the edited images.
You’ll now have multiple photos with a consistent editing style—ready for Instagram, TikTok, Pinterest, or your personal photo collection.
Best Photos for Batch Editing
Batch Editing works best when your images share similar characteristics.
Examples include:
- Photos from the same vacation
- Wedding galleries
- Portrait sessions
- Fashion shoots
- Food photography
- Product catalogs
- Social media photo dumps
- Real estate images
Using photos with similar lighting and composition helps the AI produce more consistent results.
Common Batch Editing Mistakes to Avoid
Batch editing can save a lot of time, but applying the same adjustments to every image isn’t always the best approach. If the selected photos are too different, the final results may look inconsistent.
Here are some common mistakes to avoid.
Mixing Different Lighting Conditions
One of the biggest mistakes is selecting photos taken in completely different lighting conditions.
For example:
- Indoor and outdoor photos
- Daylight and nighttime images
- Sunny and cloudy weather
- Warm and cool lighting
Using the same settings on these images often creates unnatural colors and uneven exposure.
Tip: Create separate batches for photos with similar lighting.
Applying Strong Filters to Every Image
Some filters look great on one photo but may not suit every image in a collection.
Instead of using the strongest filter available, choose a balanced preset and make small adjustments afterward if needed.
This approach keeps your gallery looking natural.
Skipping the Preview
Many users export their photos immediately after batch editing.
Always preview every image before saving.
A quick review helps you catch:
- Overexposed photos
- Dark shadows
- Incorrect skin tones
- Color inconsistencies
Ignoring Individual Touch-Ups
Batch editing is designed to speed up your workflow—not completely replace manual editing.
If one or two photos need small corrections, don’t hesitate to fine-tune them individually after applying the batch edits.
Pro Tips for Better Batch Editing
If you want professional-looking results, follow these best practices.
Start with Your Best Photo
Choose the strongest image in your collection as the reference for your edits.
If the editing looks great on your best photo, it usually transfers more effectively to similar images.
Group Similar Images Together
Instead of selecting every photo from your gallery, create smaller groups based on:
- Lighting
- Camera angle
- Location
- Time of day
- Subject
This improves consistency across the final results.
Keep Adjustments Natural
It’s tempting to increase saturation, contrast, and sharpness too much.
However, subtle edits often produce a cleaner and more professional look.
Natural-looking images also tend to perform better on social media because they retain realistic colors and skin tones.
Save Time with Consistent Workflows
If you regularly create content for Instagram or TikTok, try using the same editing style for each content category.
For example:
- Travel photos
- Food photography
- Lifestyle portraits
- Product images
This helps build a recognizable visual identity across your content.
When Should You Avoid Batch Editing?
Although Batch Editing is incredibly useful, there are situations where editing photos individually produces better results.
You should avoid batch editing when:
- Every photo has different lighting.
- Images come from multiple locations.
- Subjects require different skin tone adjustments.
- Each image needs a unique artistic style.
- AI-generated edits differ significantly from one photo to another.
In these cases, manual editing offers greater control over the final appearance.
Batch Editing vs Editing Photos One by One
| Feature | Batch Editing | Individual Editing |
|---|---|---|
| Speed | ⭐⭐⭐⭐⭐ | ⭐⭐ |
| Consistency | ⭐⭐⭐⭐⭐ | ⭐⭐⭐ |
| Creative Control | ⭐⭐⭐ | ⭐⭐⭐⭐⭐ |
| Best for Large Photo Collections | ✅ | ❌ |
| Best for Detailed Retouching | ❌ | ✅ |
If your goal is efficiency and consistency, Batch Editing is the better option. However, for detailed portrait retouching or artistic edits, individual editing still delivers the highest level of control.
Frequently Asked Questions
Can I batch edit photos in Hypic for free?
Some Batch Editing capabilities may be available in the free version, while advanced AI tools or premium workflows may require a subscription. Feature availability can also vary by app version.
Does Batch Editing reduce image quality?
No. Batch Editing applies the selected adjustments to multiple images, but it doesn’t intentionally reduce image quality. Export quality depends on your chosen settings and the original photos.
Can I edit photos with different filters in the same batch?
Batch Editing is designed to apply the same adjustments across selected images. If you want different styles, create separate batches.
Is Batch Editing available on iPhone?
Yes. Batch Editing is available on Hypic for iPhone, although the interface and feature availability may vary slightly depending on your installed version.
Is Batch Editing useful for Instagram creators?
Absolutely. It helps maintain a consistent visual style across carousels, reels covers, travel albums, product catalogs, and lifestyle content while significantly reducing editing time.
Final Verdict
Batch Photo Processing is one of the most practical additions introduced in recent versions of Hypic. Instead of spending time editing every photo individually, you can apply consistent adjustments across multiple images in just a few steps.
For creators who regularly publish content on Instagram, TikTok, Pinterest, or other social platforms, this feature can dramatically improve workflow efficiency while maintaining a polished visual style.
Although a few images may still need minor touch-ups, Batch Editing is an excellent solution for handling large photo collections without sacrificing consistency.
If you prefer editing on a larger display, you can also use Hypic for PC to enjoy the same AI-powered editing experience with more screen space.
If you haven’t explored this feature yet, it’s worth trying in the latest version of Hypic.